How to make an 808 kick with Z3TA+2
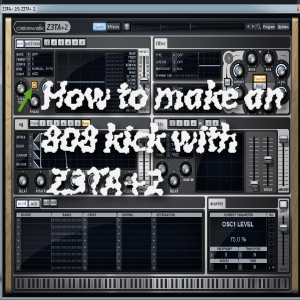
CAKEWALK Z3TA+2 808 TUTORIAL How to make an 808 kick drum with Z3TA+2 INTRO Z3TA+2 from Cakewalk is an excellent synth to make 808 style drums with. It’s pitch envelope allows for the 808 to…
CAKEWALK Z3TA+2 808 TUTORIAL How to make an 808 kick drum with Z3TA+2 INTRO Z3TA+2 from Cakewalk is an excellent synth to make 808 style drums with. It’s pitch envelope allows for the 808 to…

Making an 808 Instrument using Kontakt 5 In this tutorial you will learn how to import 808 samples into Kontakt 5 and make 808s for trap music, and hip hop.. Why use a Sampler?? There…
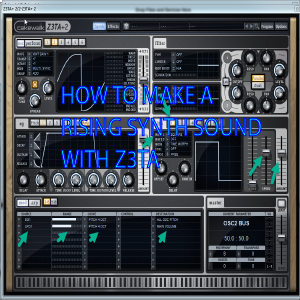
How to make a rising synth sound with Z3TA+2. This tutorial will show you how to make a rising synth sound with Z3TA+2. Here is an example of the sound we will be making. Oscillator…
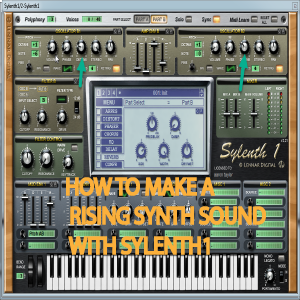
How to make a rising synth sound with Sylenth1. Load sylenth to default settings. Ensure that the sawtooth wave is selected. Adjust the ADSR envelope Adjust the voice count up to at least 4 Turn…
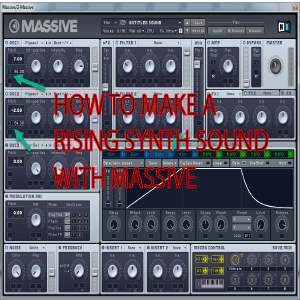
Learn how to make a rising synth sound with Massive. In this tutorial you will learn how to make a rising synth sound with Massive. Load massive. Select New Sound from the file menu. Select…